How Does Glass Get Cut? The Science of Scoring and Breaking
Ever watched someone cut a pane of glass and wondered how a tiny scratch leads to a perfectly straight break? The answer is more physics than brute force. Glass isn't sawn like wood — it's scored and then snapped along a line of weakness that you create. Let's pull back the curtain and look at exactly what happens at the microscopic level, from the first pass of the wheel to the satisfying hhsshhk of the finished break.
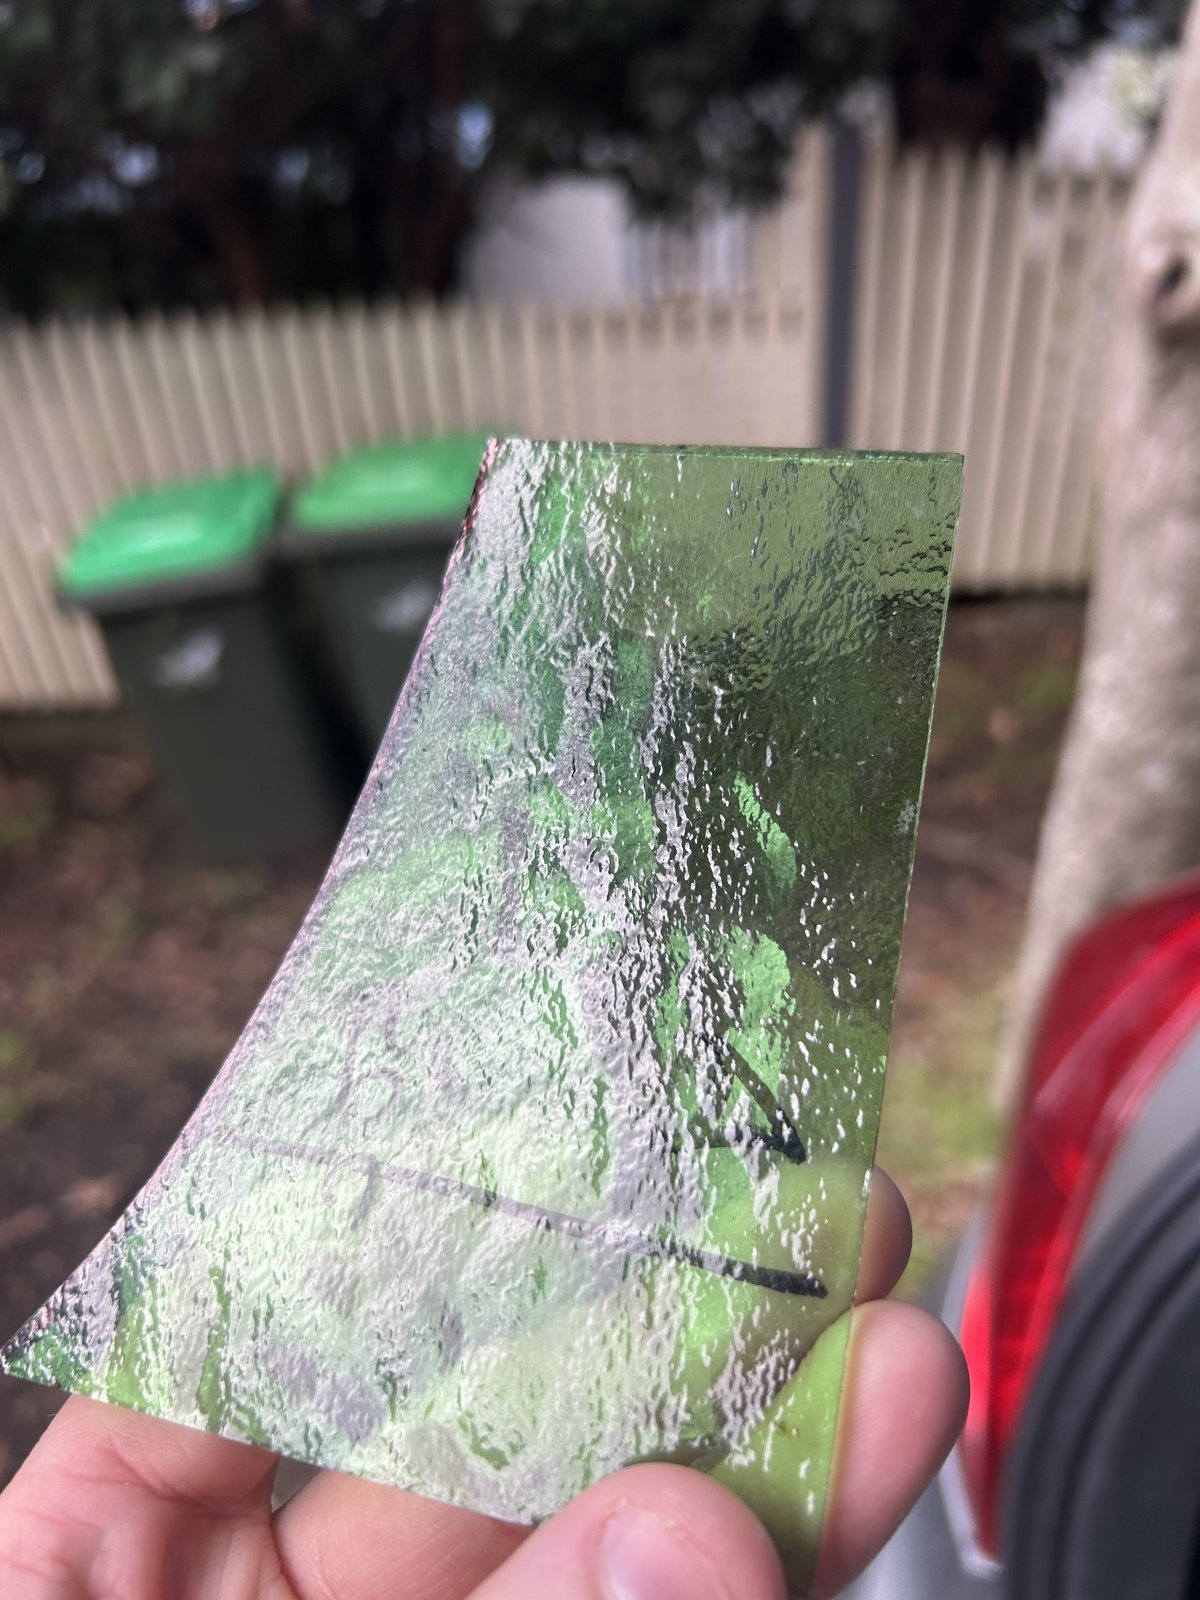
Glass is not a crystal — that's the whole trick
Before we talk about cutting, it helps to know what glass is. When you look at a pane, it seems solid and orderly, but glass is actually an amorphous solid — a rigid network of molecules frozen into a random, glassy arrangement with no crystal planes or grains.
That structure has one huge consequence: glass is incredibly strong in compression but very weak in tension. You can press on it and it barely notices. But pull it apart — stretch those random bonds — and it fails readily, and when it fails it fails along the line of stress. Cutting glass is really about controlling that tensile failure with a single, well-placed scratch.
Step 1 — Scoring: the wheel digs a groove and starts a crack
The glass cutter — the tool with the tiny wheel on the end — doesn't actually cut through the glass. It rolls a small hardened wheel across the surface under firm, even pressure. That wheel is typically made of tungsten carbide, the same ultra-hard material used in machine tools, and its cutting edge is ground to a sharp angle (most cutters use a 135° wheel for general work, with steeper angles for thicker glass).
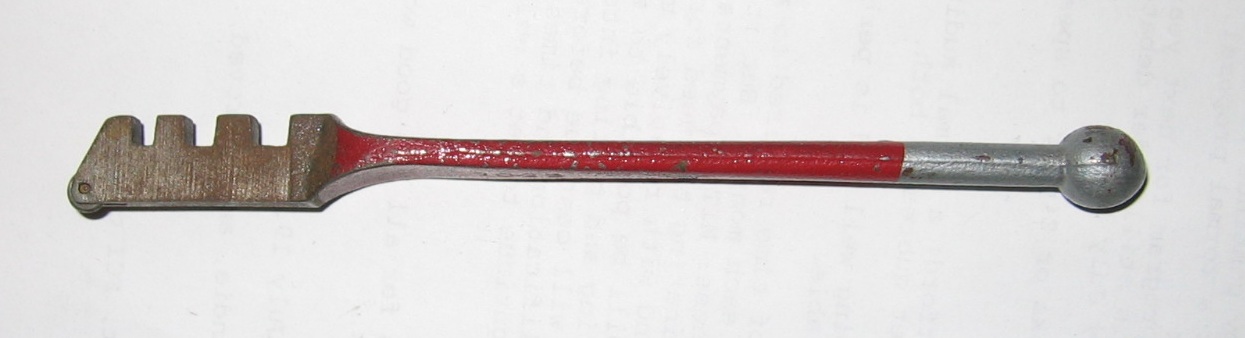
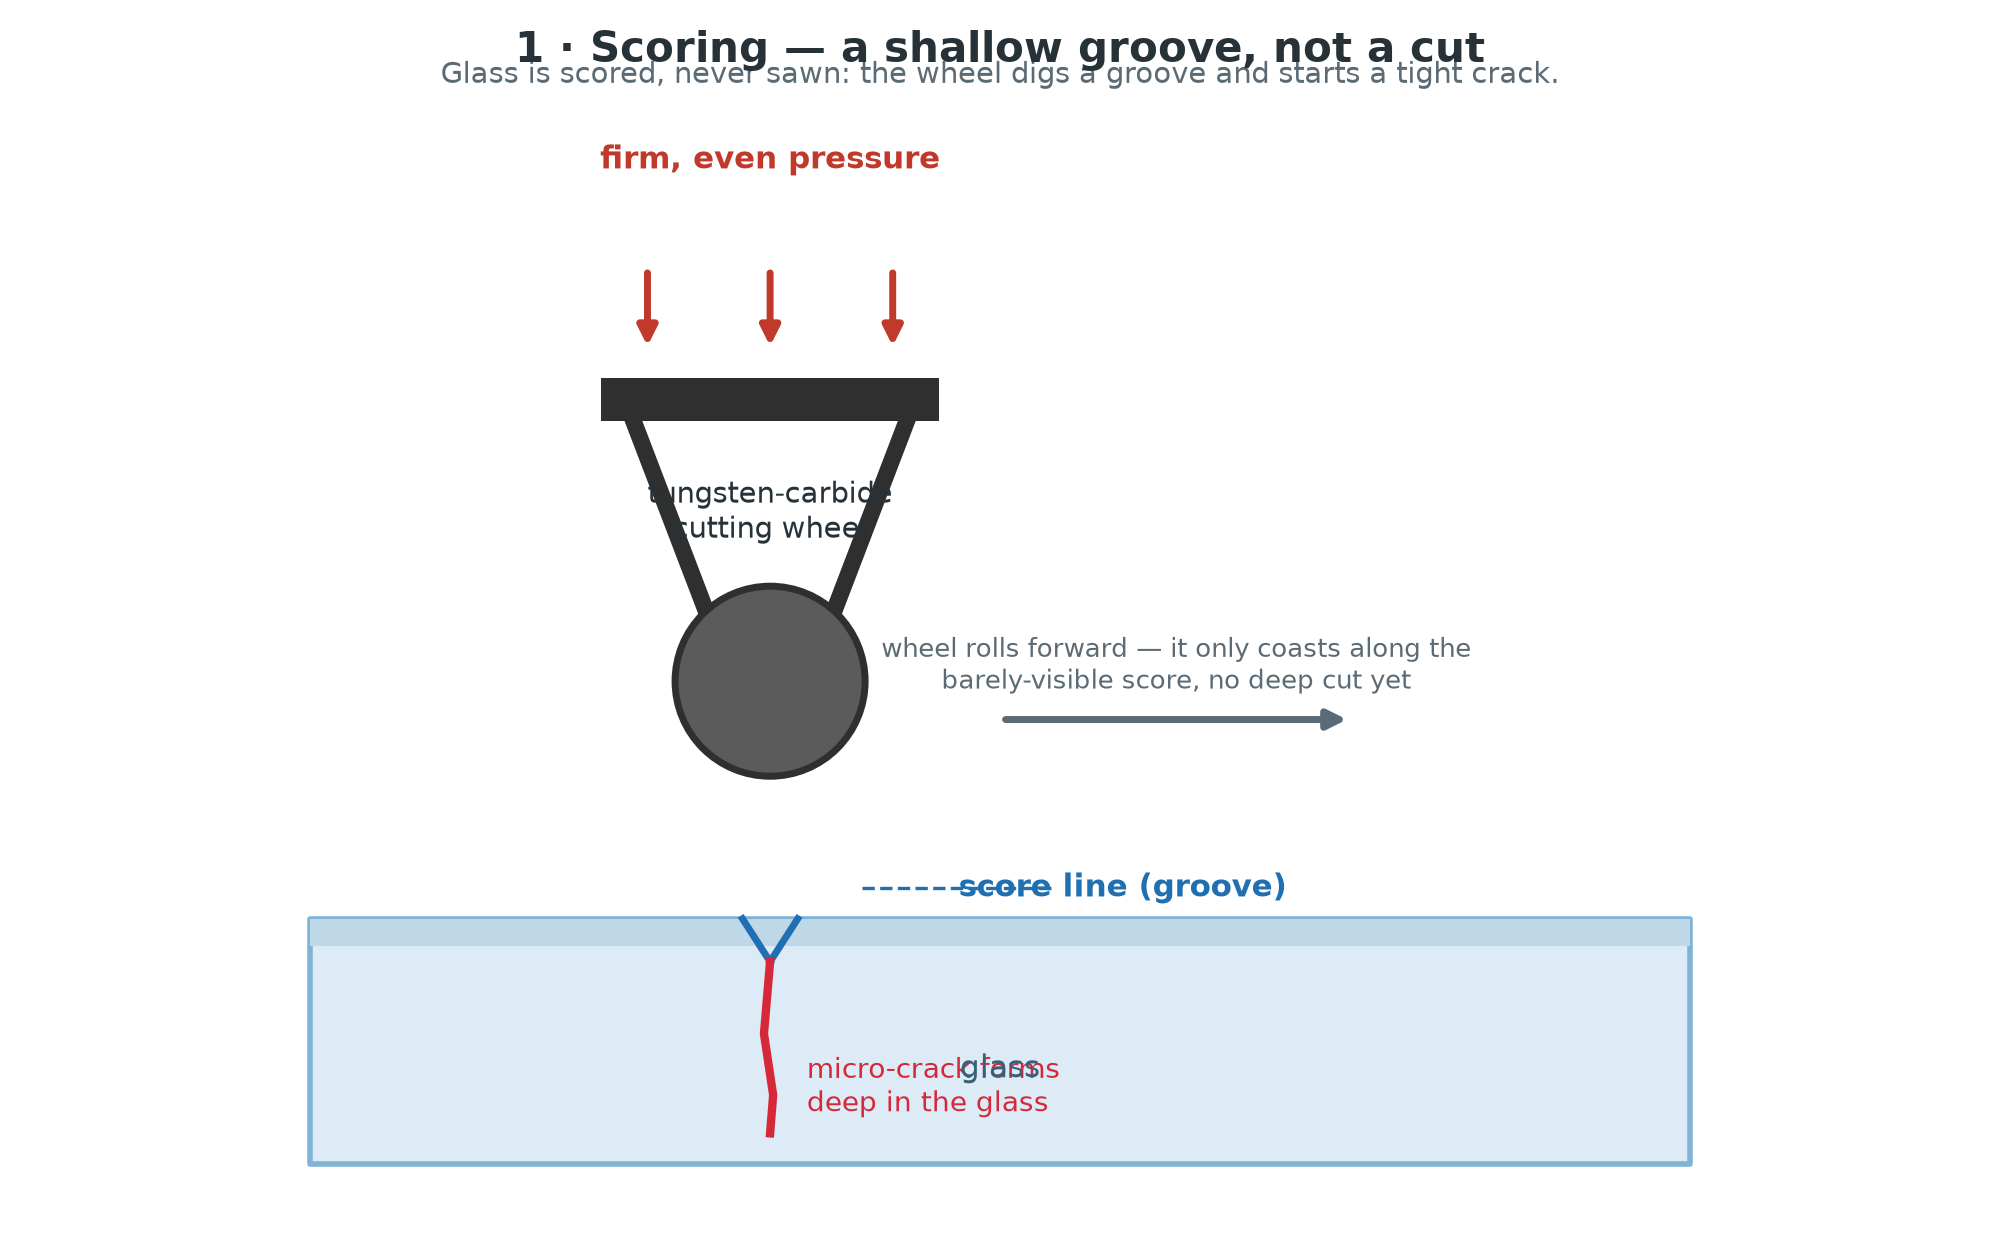
As the wheel rolls along, it acts like a miniature plow: the pressure forces it to displace a sliver of glass, carving a shallow V-shaped groove no deeper than a fraction of a millimetre. Underneath that groove, the concentrated pressure drives a tiny micro-crack — a hairline fracture that darts down into the glass, deeper than the visible scratch.
This is the crucial moment. The score line is a stress concentrator: a notch in the surface where tension will pile up later. It gives the glass a pre-weakened "fault line" along which the eventual break will travel — but on its own, it isn't a cut yet. Think of it as drawing a perforation line, not tearing the paper.
Key scoring tips:
- One pass only. Score each line a single time. Going back over it wears the wheel and crumbles the groove, producing a ragged, chipped edge instead of a clean crack.
- Firm, even pressure from start to finish. Press hardest as the wheel starts and as it finishes, at the very edges of the sheet, where the wheel can otherwise skip.
- Start and finish right at the edge. A score that stops short of the edge leaves you unable to run the break cleanly to the full length.
Step 2 — Bending: the crack shoots through along the line of stress
Here's where the physics pays off. To separate the glass, you now apply a bending moment — you flex the sheet so the scored surface goes into tension. This is what running pliers (or a running tap with your hands) does to a small piece.
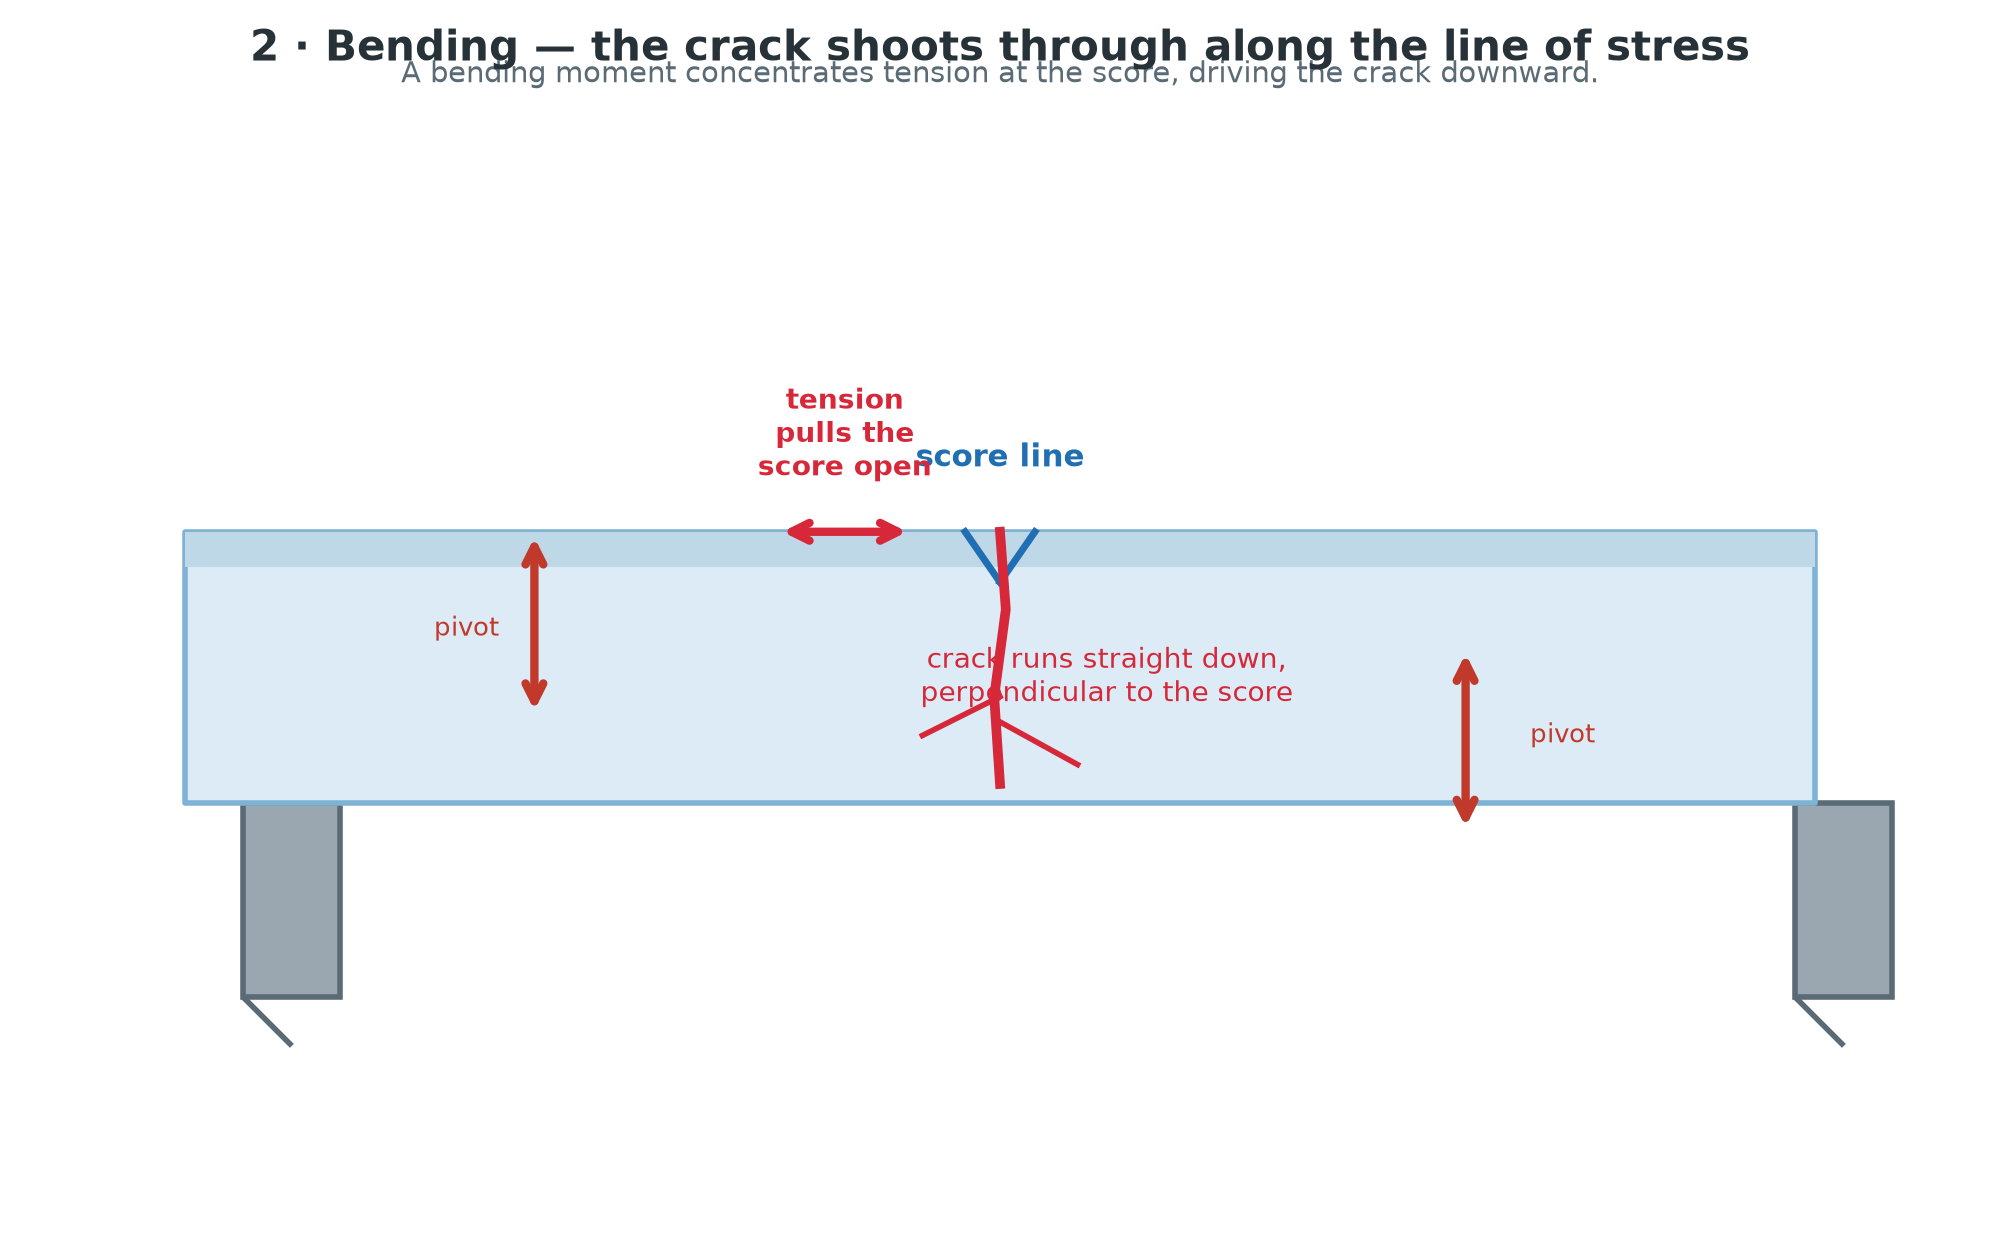
When you bend the glass, the top surface (where the score is) stretches, while the underside compresses. Because the score line concentrates that stretching force, the tensile stress at the bottom of the micro-crack skyrockets — often many times higher than the stress elsewhere in the sheet. That focused tension pulls the crack open, and the crack propagates straight down, perpendicular to the surface, following the line of stress all the way through the glass thickness.
This is why the break is so clean: the crack runs from the tip of the score straight through the sheet, and it runs along the entire score line almost instantly. It's not being torn by force — it's being guided by a pre-existing crack front, which is why the result matches your score so exactly.
Step 3 — Propagating the break across the sheet
With a full sheet the process is the same, just spread out. You make your score from edge to edge, then grip the waste side with running pliers and fold it downward. The break races along the scored line in one fluid motion.
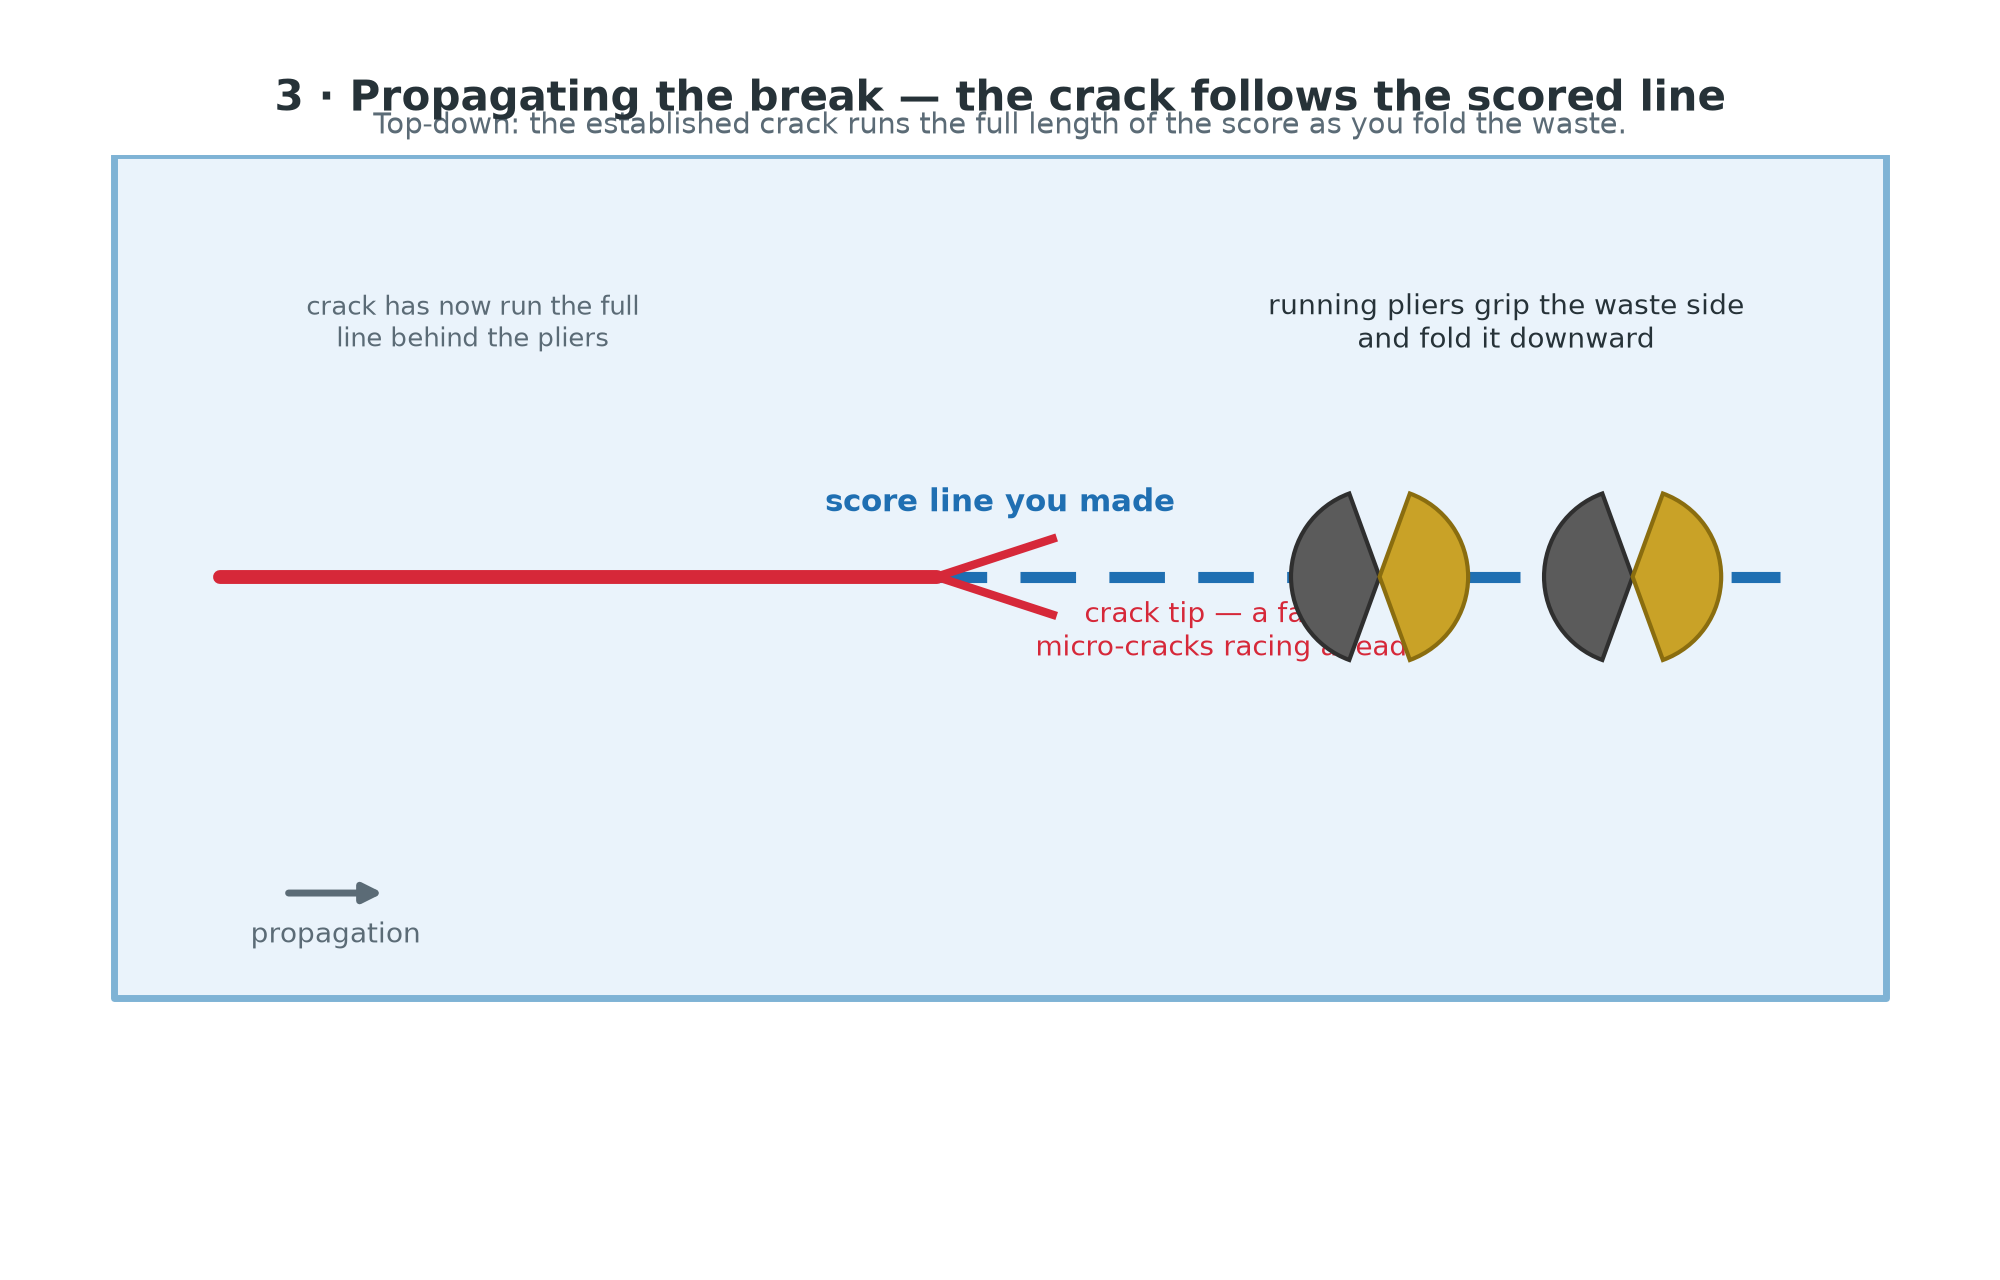
Notice in the diagram that the crack is shown running ahead of where the pliers are. That's the hallmark of a well-scored piece: the crack propagates itself along the weakened line. When it reaches the far edge, you hear that characteristic hhsshhk and the piece drops away clean.
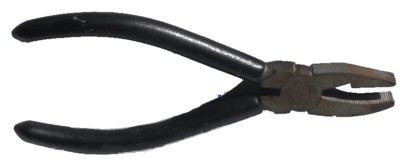
If the score was too light, the crack fizzles out and you get a partial break you'll have to coax. If it was too heavy — or you scored twice — the groove is crumbly and the edge comes out chipped. Scoring well is a balance of pressure, wheel angle, and a steady hand.
Why everyone uses cutting oil
Watch a professional glazier and you'll notice a small bottle near their cutters. Cutting oil isn't optional extra — it's part of how the score forms.
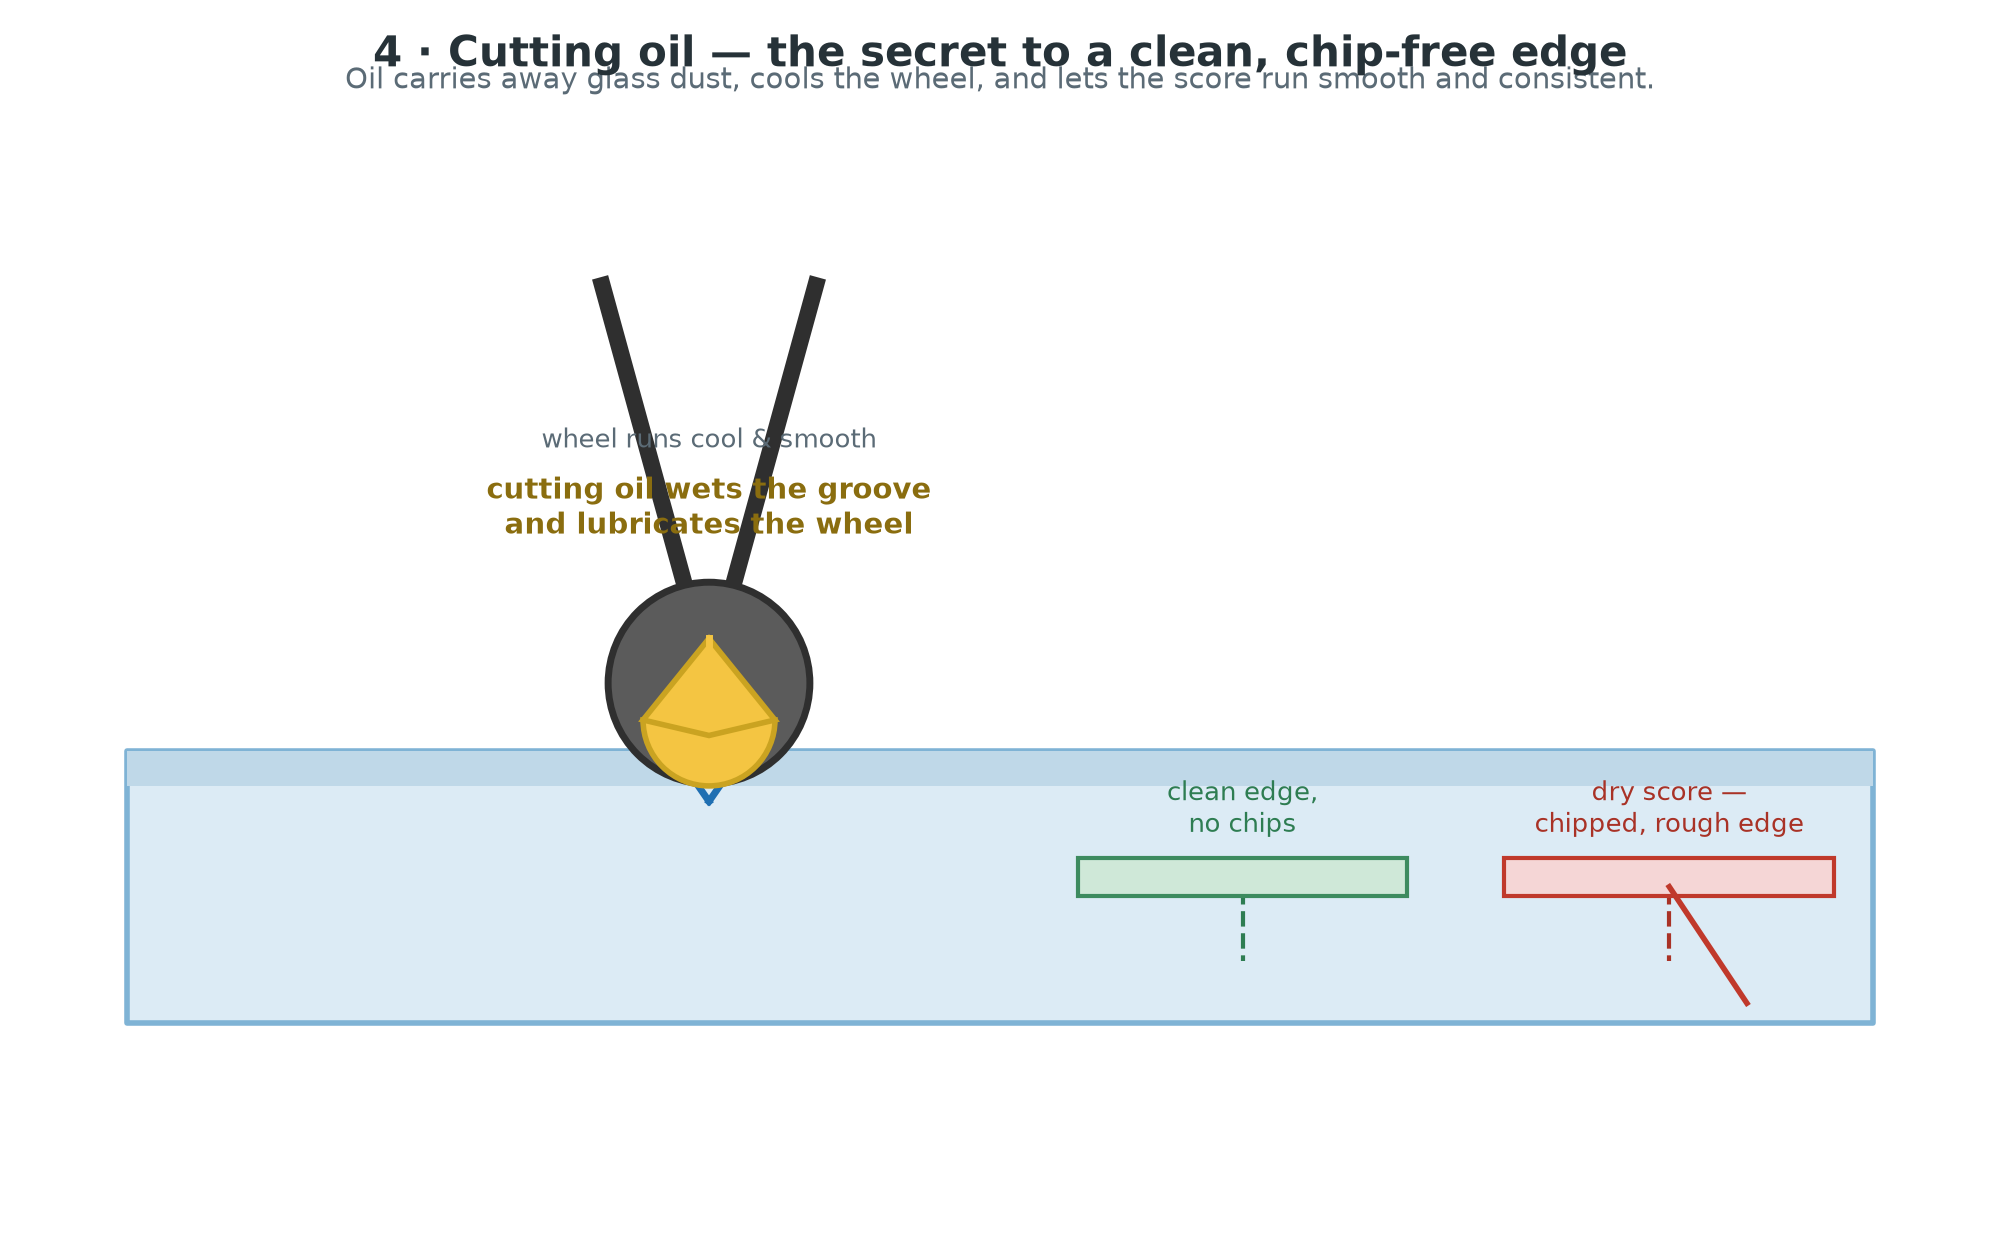
Here's what a few drops of cutting oil actually do:
- Lubricates the wheel so it rolls smoothly instead of chattering or skipping across the surface.
- Flushes away glass dust that would otherwise wedge under the wheel and turn your clean groove into a jagged, chipped mess.
- Keeps the wheel cool and reduces wear on that precious tungsten-carbide edge.
- Aids the crack. A slight film of oil helps the score run smoothly and evenly, so the propagating crack stays on line.
You don't need a lot — a few drops on the score or a quick dip of the wheel is plenty. Many professional cutters even have a built-in reservoir that feeds oil to the wheel automatically, which is a big reason experienced glaziers reach for those models.
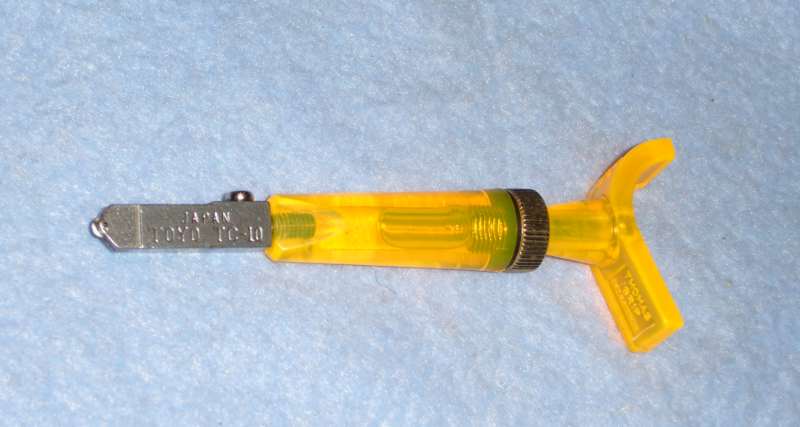
A guide to glass cutter brands
There's no single "best" cutter — the right one depends on your hand, your glass thickness, and your budget. Still, a few names dominate workshops and studios, and knowing them helps you choose:
| Brand | Known for | Best suited to |
|---|---|---|
| Fletcher-Terry | A household name since 1868; the classic Fletcher-Terry Gold Tip and their pistol-grip designs are studio staples | General glazing, straight lines, reliability |
| Toyo | Japanese precision; the Toyo TC-20 and TC-25 are lightweight, comfortable, and very smooth | Everyday craft and hobby use, curved cuts |
| Bohle | German engineering; the Bohle Turbomax and their premium turquoise range cut very cleanly | Professional studios, fine art glass |
| Glastar | Known for the Glastar Supercutter, with an oversized comfortable barrel | Heavy everyday use, thick glass |
| Grip-On | The Grip-On/Paolini cutters sit in your palm and are popular in the US | Pistol-grip fans, precision work |
The two big decisions are wheel angle (135° for most glass, 150°+ for thick float or mirror) and handle style (pencil-style cutters let you scribe curves; pistol-grip cutters give you more leverage on straight runs). And remember: the cutter is only half the job — you'll run the break with running pliers and tidy up rough edges with grozing pliers.
Putting it together
- Score once, firmly, from edge to edge, with a sharp carbide wheel.
- Orient the scored side up so it goes into tension.
- Bend along the line with running pliers — the crack follows your score straight down.
- Listen for the hhsshhk — the break has run the full line.
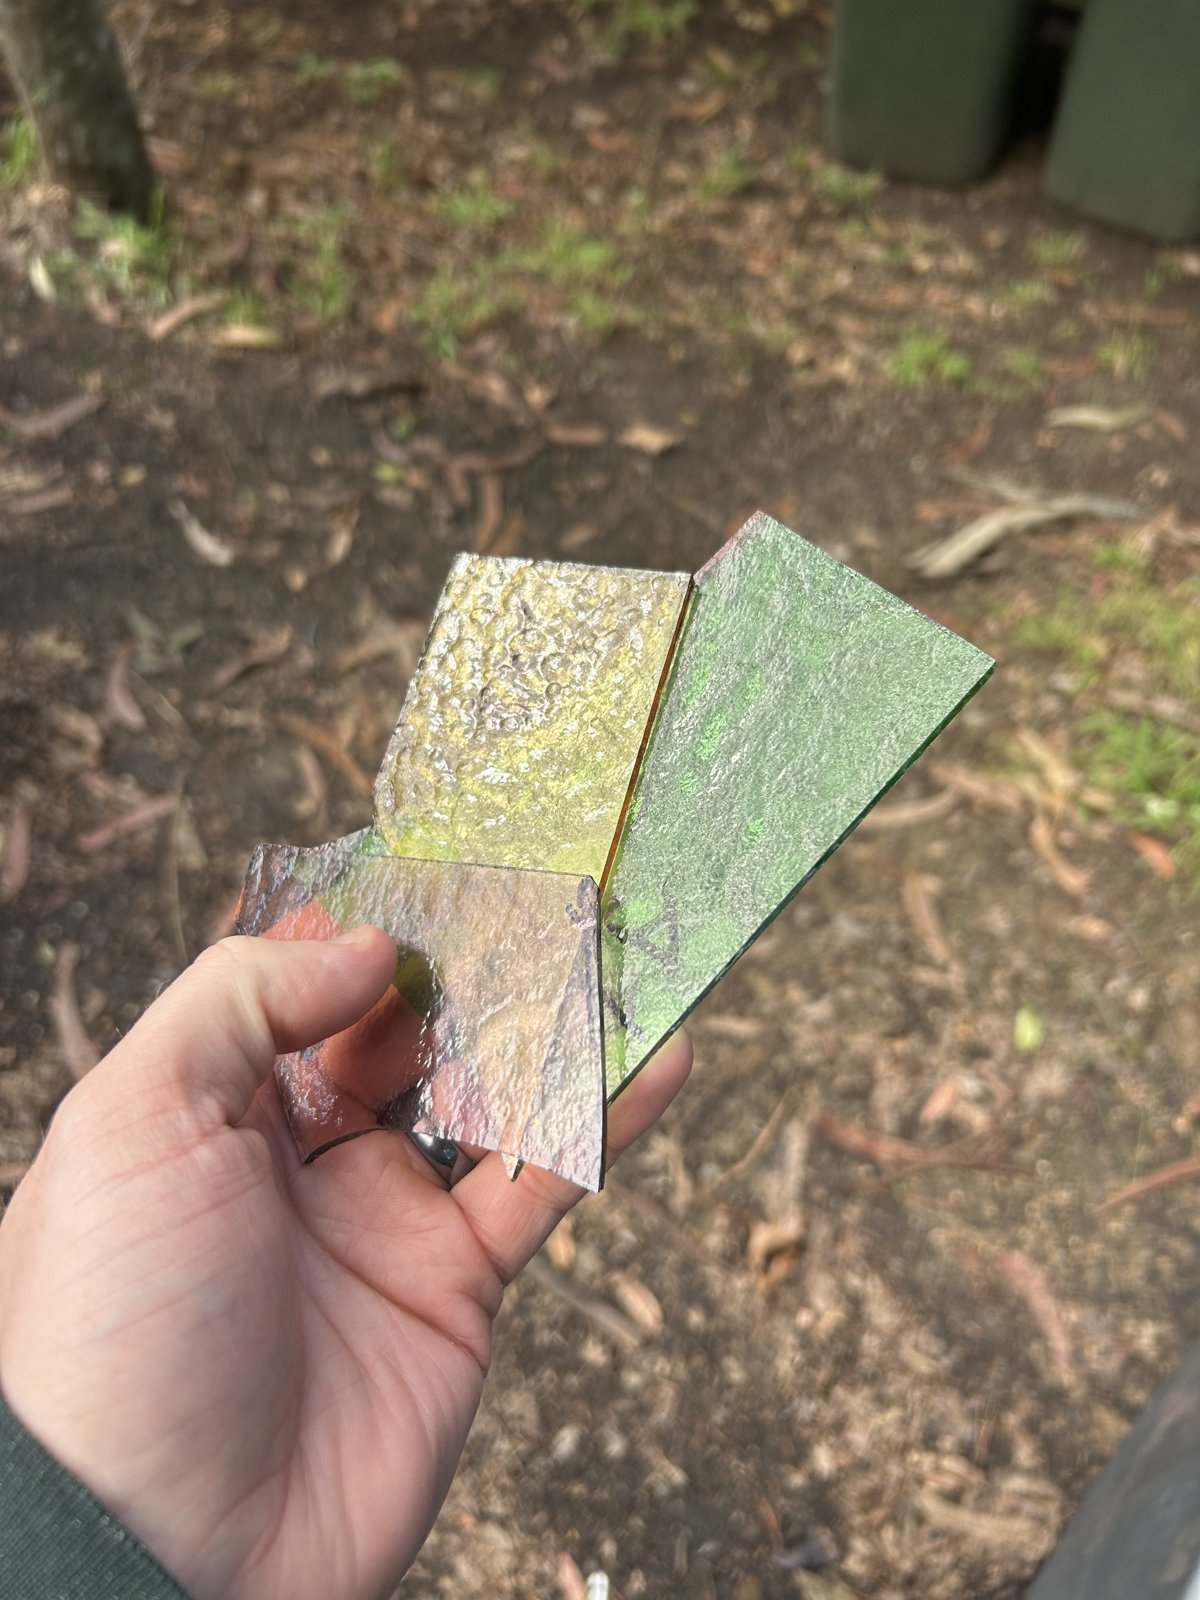
Glass cutting looks like magic, but it's really a masterclass in controlled failure: a precise groove, a focused stress concentration, and a crack that knows exactly where to go. Score well, oil your wheel, and the glass does the rest.
Ready to set up your cutting station? Browse the shop →
Photos: header and finished-panel shots from our studio. Glass-cutter tool, breaking/grozing pliers, and oil-fed cutter photos courtesy of Wikimedia Commons (public domain / free use).